3.18.2012

Embroidery Carry-Along Clutch

I have a cat.


Like all cats, she loves string and being in the way most of the time. This poses a problem when I am in embroidery mode. I had taken to keeping my needles, string and scissors between the fold of an old rag to prevent little claws from running off with everything.

That's when I found this tutorial on Pinterest. The solution to my problems.

Cute right??

Materials: 
  • Felt. About 5 of those rectangles you get in the kids craft section will do. 
  • Scissors 
  • Sewing machine and sewing machine things
  • Pins
  • Rolator cutter and mat
  • Ribbon (Like 24" worth)
1. Cut your felt to the dimensions (I'll use my colors so you can follow along):
    • Gray (outside) 6 1/2" x 11 3/4"
    • Gray (inside) 6 1/4" x 11 1/2"
    • Purple (outside "ruffle") 7" x 2"
    • Blue (outside "ruffle") 7" x 2"
    • Green (outside "ruffle") 7" x 2"
    • Purple (scissor sleeve) depends on your scissors, but cut 3" x 6"
    • Blue (envelope) 5 3/4" x 7 1/2"
    • Green (envelope flap) 5 3/4" x 4"
    • Purple (needle flap) 3" x 6 3/4"


2. Starting with the outside piece, sew the three "ruffles" together. Use a decorative stitch on your machine if you have them. Overlap the pieces by 1".


When you sew the last one (green), attach it to the gray piece. Place it by lining up the top (purple) piece with pins, but don't sew it there yet. When you sew the last (green) piece, place 9" of your ribbon under the flap about an inch as you sew it. Your ruffles will hang over the sides of the gray. You'll trim it later.


As you can see, I also cut along my decorative stitch line to give it a ruffly look. Cool. Set it aside for now. It's on to the inside.

3. The needle flap. Fold it about 1 1/2" behind itself and use more decorative stitches! Attach it about 1/4" inside the right side.


4. The envelope. Make the edge of the your envelope flap (green) ruffled with your decorative stitch again. Then attach the un-ruffled edge to the envelope body (blue). Put the edges together flush and use a zigzag stitch to hold them together


5. Fold the envelope body (blue) up on itself, short about 3/4". Sew it in place by just sewing up the sides onto the inside (gray) piece, about 1/4" away from the needle flap.


6. Fold down the envelope flap (green) above the zigzag and sew about 1/4" at the top to keep it closed, but still allow it to function as an envelope.


7. Moving on... the scissor sleeve. Fold the scissor (purple) piece in half and tailor it in a curve around your embroidery scissors. Sew it onto the inside piece on the other side of the envelope.


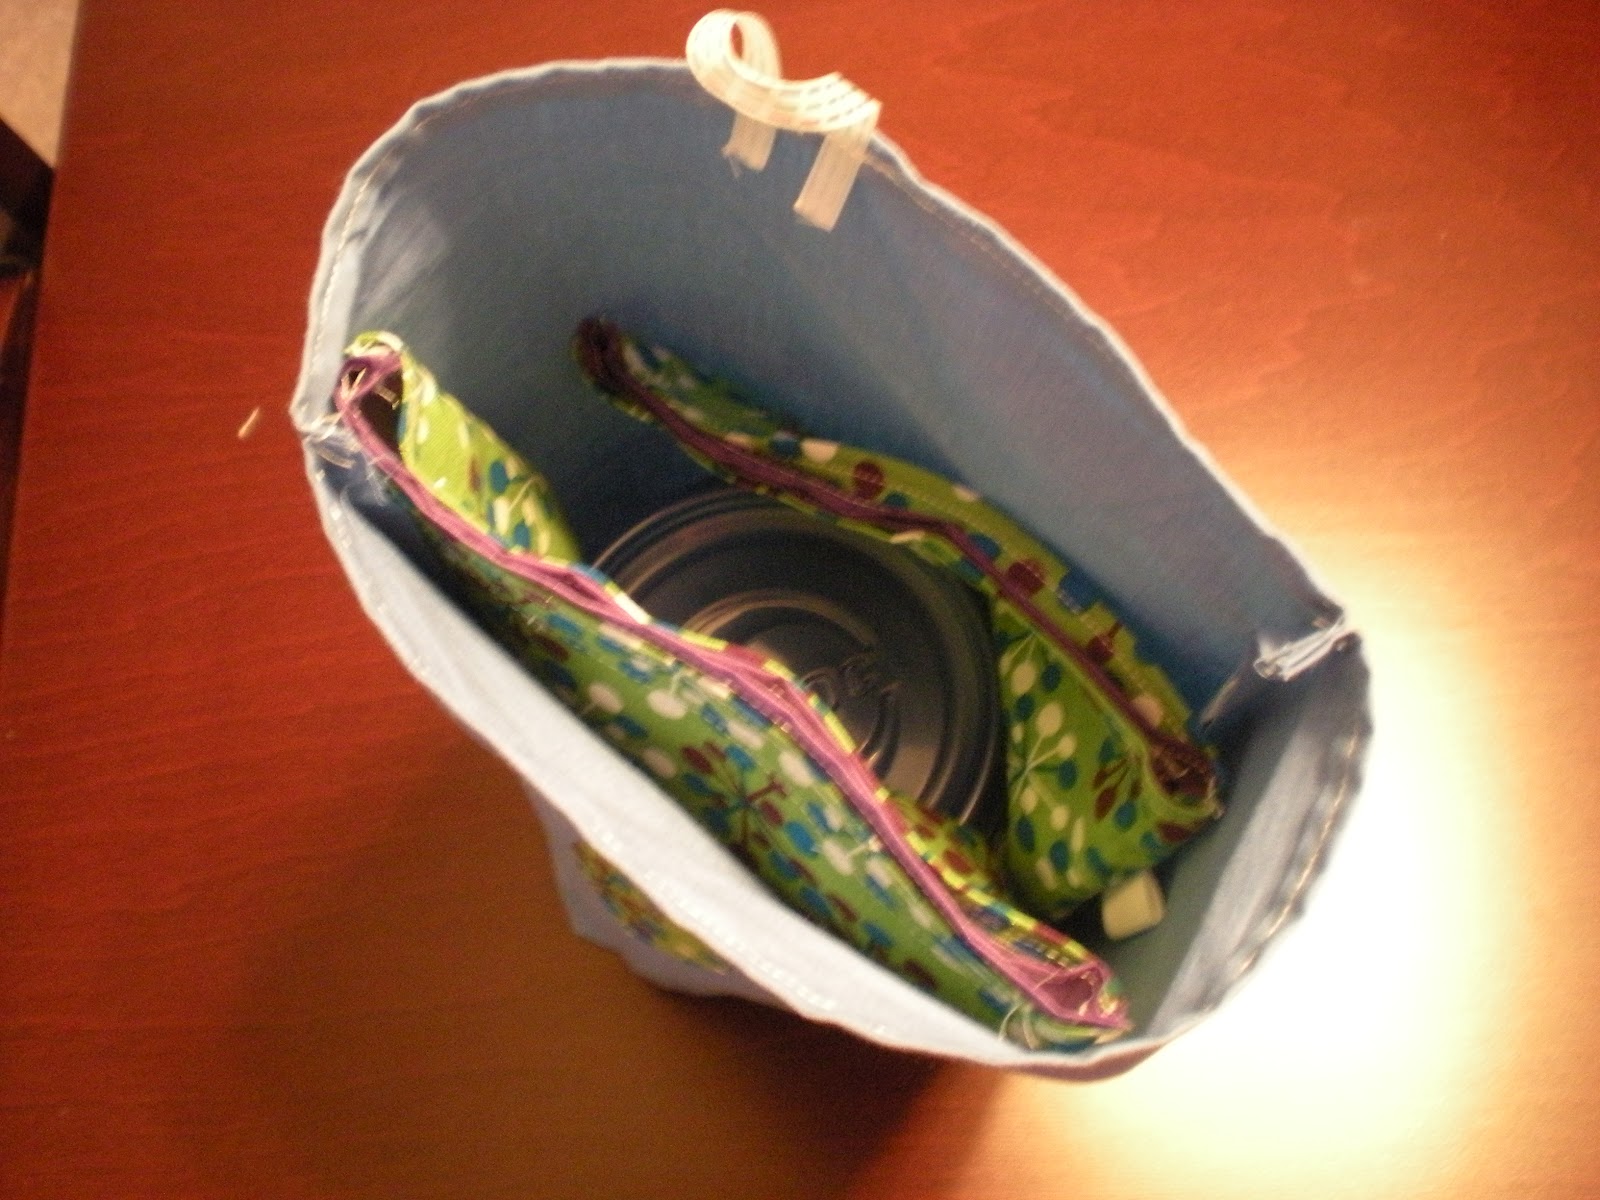
8. Place the inside and outside (gray) pieces with wrong sides together and sew around the perimeter. When you are sewing along the top ruffle, place a 9" piece of ribbon 1" in.


9. Now trim around the sides of the clutch so everything looks perfect and pretty (like you!)

And like that, you are keeping your threads and needles out of feline clutches and into your own embroidery clutch.


    Reusable Baggies

    As I mentioned before my packed lunches usually consist of things like Cherrios, carrots, crackers and other such toddler snacks. As I am also a friend of the earth, I strive to eliminate any excessive Ziploc baggie use. These reusable baggies are a life saver! You can flip them inside out and dust them off or rinse them under the sink. You can even throw them in the washing machine! Plus, they are super cute and your friends will be jealous.


    You can make them in any size, but this tutorial shows a sandwich bag and a snack bag (above)

    Materials (for 3 bags):
    • About 1/4" yard of your favorite fabric (you can use just about anything, but I like something slightly heavy)
    • About 1/4" yard of nylon fabric (I was so stoked to find it in colors other than white)
    • Sewing machine and sewing machine things
    • Pins
    • Rolator cutter and mat
    • Velcro (About 1/2" thick)
    1. Cut your fabric and nylon to the same sizes. For the sandwich bags I did 7" x 15" and 7" x 10" for the snack bags.


    2. Hem the tops and bottoms of the fabric 1/4".


    3. Fold the top to the bottom with the right sides together. You can pin it if you feel safer. Sew up the sides.


    Look! A baggie.


    4. Do the exact same to the piece of nylon. Sewing nylon is tricky because it is so slippery, so go slow. When you're done, don't turn it inside out. You won't need to.


    5. Slide the nylon bag into the fabric bag. Woop. (That the sound it makes... when you make that sound with your mouth)


    If you do turn it inside out (which you don't need to), it would look like this:


    6. Pin the Velcro to the insides of the bag, about 1/4" or 1/8" from the top. With the bag open sew the perimeter of the Velcro. You'll have a top stitched box on the outside of your bag, which doesn't bother me. It keeps the two bags securely together.


    This is what it looks like right before you fill the baggie with snacks:


    I made three bags.


    I assembled the baggies, along with the lunch bag I made in the previous post for an auction item for a school fundraiser as a lunch set, thus the matchy-match.


    Pack it up!

    3.16.2012

    Label Tags

    In an attempt at looking more profession and fancy (I'm mostly in it for the fancy) I decided to make some label tags for the things I have been creating these days, using my own little logo that I drew up myself.


    Materials:
    • Computer and printer
    • Wide white or light colored ribbon (I used 7/8' and probably could have gone wider)
    • Iron-on transfer paper (the kind you use to personalize t-shirts)
    • Iron and ironing board
    • Scissors
    1. Design your logo. Some of you fancier people might already have one professionally designed. I just used the OneNote function on my tablet computer to draw something.


    2. Flip the image around and make a sheet of the label on a Word document. Make sure they are the appropriate size for your ribbon.


    3. Print it onto the transfer paper according to the instructions.


    4. Cut out each label. Cut them to fit inside your ribbon.


    If you cut them too big and then try to iron them as I did the first time, terrible things will happen to your ironing board. Ooops.


    5. Cut your ribbons to about 4" just so you have enough to add them to your projects.


    6. Iron your labels onto the ribbon.


    You can do it horizontally or vertically, depending on which way you want your labels to go.


    This is what it would look like when you fold it.


    I added one to the lunch bag I made in my last post


    Pretty nifty huh? I thought so too.

    What's for lunch?

    Well, I had a quesadilla for lunch. I ate it on my couch, because I have the luxury of no classes on Fridays! But most days I am a lunch bag toting, apple sauce eating, Cherrio nibbling toddler.

    Here's a lunch bag for days when you're bringing a light lunch along. It's not insulated, but it is washable and cute. Inspiration and measurements from here.


    Materials:
    •  About 1/2 a yard of sturdy-ish fabric
    • Another fabric (scraps will do)
    • Heat-n-Bond or another something for bonding two fabrics together
    • Scissors
    • Rolator cutter and mat
    • Sewing machine, pins and what not
    • Iron and Ironing board
    • Button
    • Ribbon
    1. Cut two pieces of fabric 9 1/2" x 13".


    2. Use the Heat-n-Bond to make some appliques to add to the front piece


    3. Sew a hem at the top of each piece of fabric. I did 1/4" folded over twice.


    4. Pin and sew the two pieces together, right sides together. Sew all the way around, except the top of course.


    5. Fold the bag so that the two side seams are touching and the bottom forms a diamond. Sew a line about 2" from the end points.


    6. Cute the points off near the seam.


    7. Turn the bag right side out. Prettttyyyy...


    The bottom looks like this:


    8. To make the closure, sew a button about 3" from the top. Attach a ribbon in a loop on the opposite side at the top so that it will reach the button and close.


    Now pack up your lunch. Om nom nom!