I saw this
embroidered clock while rummaging through Pinterest and decided to make one for my sister for Christmas. I have been embroidering for years and figured it was time (get it?) to step up my game and try something besides t-shirts, napkins, and tote bags. It was actually very fun to make and when I put in the battery and the second hand started ticking, I was so proud.
Materials:
- 11 x 14 canvas
- 1/4 yard fabric
- masking tape
- pencil
- paper
- small plate
- scissors
- embroidery thread
- embroidery needle
- embroidery hoop
- spray adhesive
- staple gun and staples
- clock movement mechanism
- piece of scrap cardboard
- hammer (optional)
- beads (optional)
- ribbon (optional)
1. Place your canvas on the fabric and outline in masking tape. This will set you boundaries for when you are embroidering your design and clock face.
2. Trace a small plate (the size you want your clock face to be) onto a piece of paper. Cut out the circle and fold it into 12ths (fold in half, in half again, and in then in thirds.
3. Unfold your circle and place it on the fabric where you would like your clock face to be. Mark the 12 places that you'll want your numbers, as well as the center of the clock. I just used pencil because I am at my parents' house and I don't have my dressmaker's pencil or chalk. (I recommend chalk or disappearing ink).
4. Now you can start embroidering your design and clock face. I found a quote about time that seemed appropriate for my sister and drew my deign in pencil onto my fabric (again, I recommend chalk or disappearing ink). And away I embroidered in my free time. It took several days to complete.
TADA!
(I used a paper clip to guide me when making my numbers so that they were all the same size. I kinda wish I used masking tape to make lines on my fabric for my quote, but I sacrificed perfection for the sake of the holiday season.)
5. I then ironed my fabric and added some beads to continue to decorate. It is important to iron.
6. Next I used spray adhesive to attach my fabric to the canvas. The way this particular adhesive is, if you spray a light coat on one surface, it's sticky but isn't permanent. If you do a thick coat on both surfaces it's permanent. So I used a light coat on my canvas so that I could reposition my fabric on the canvas and make sure it was straight.
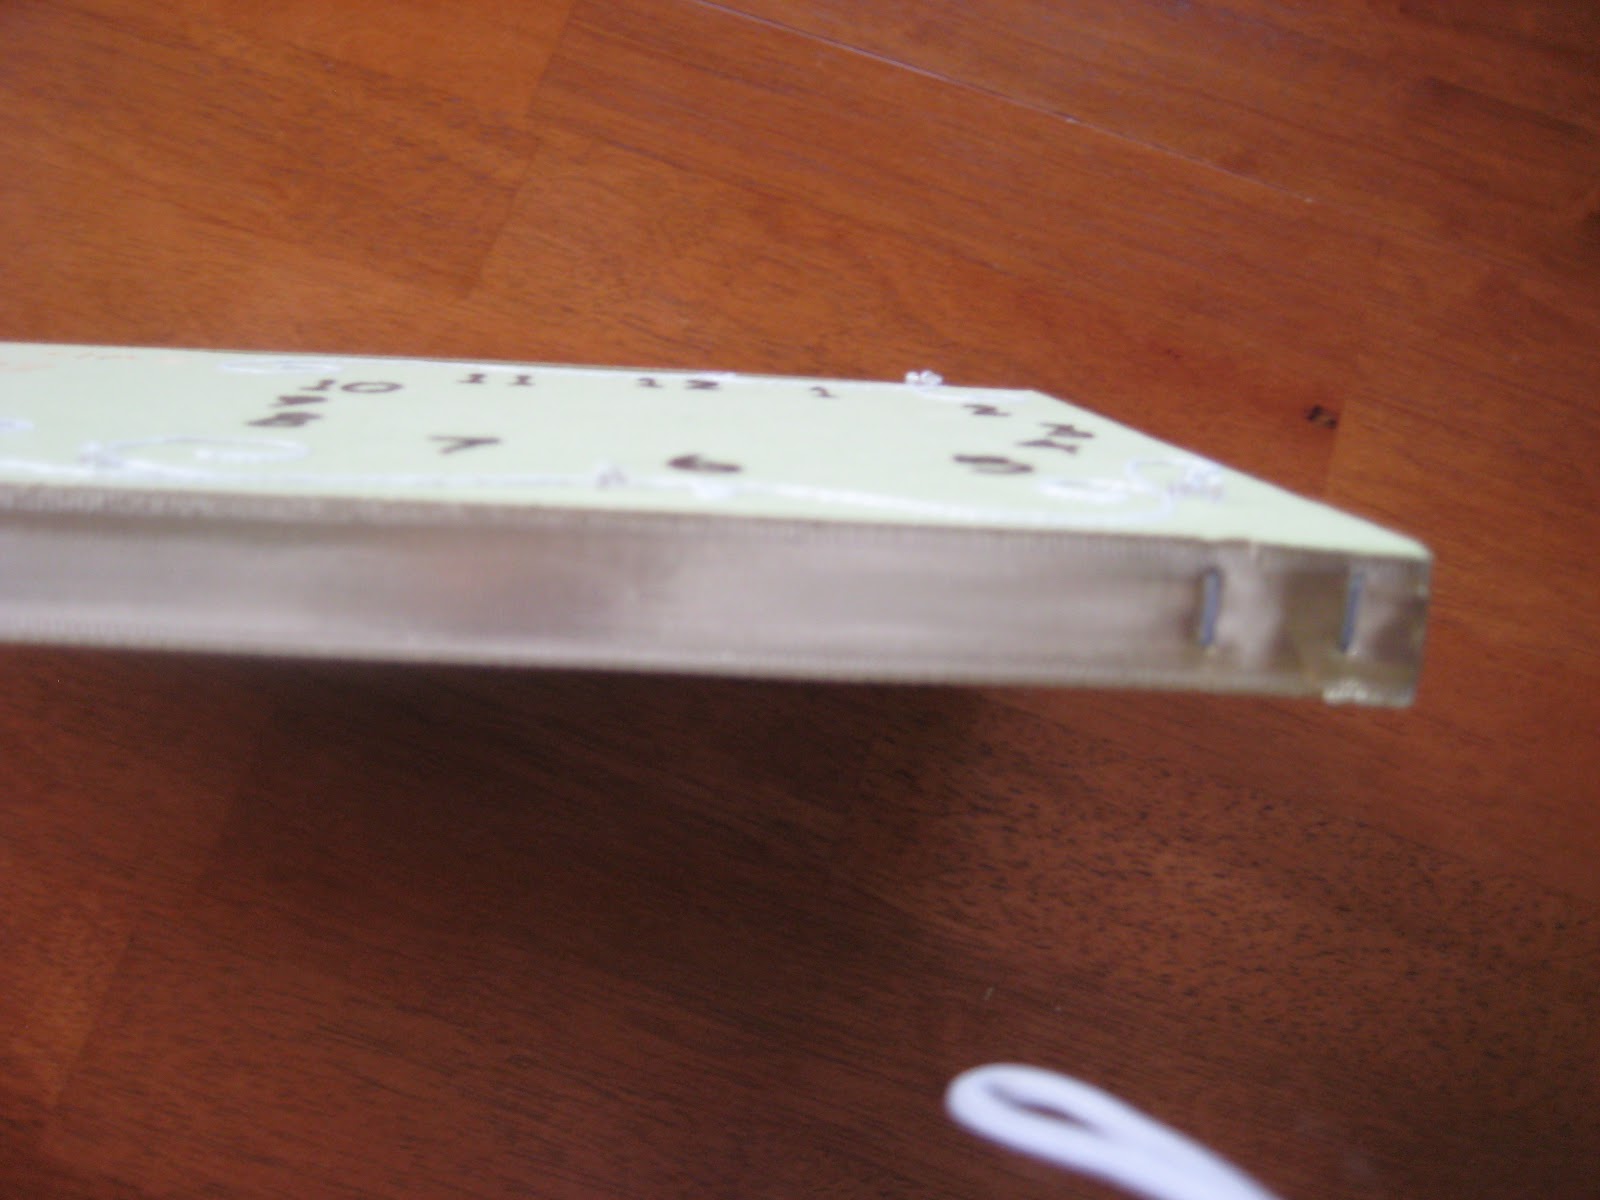
7. To make the fabric taunt on my canvas, I used a staple gun to secure the fabric to the back of the canvas. I had to be very gentle because of the beading and use a hammer to make sure that the staples were flush. I trimmed the fabric.
8. My corners turned out okay, but I wanted to make sure that they didn't ravel or get weird, so I added a gold ribbon around the perimeter of the canvas and just stapled it at the bottom (who will be looking at the bottom anyway?)
Almost there!
9. In order to add the clock mechanism, use your scissors to poke a hole in the center of the clock face. I used a pencil to help round out the hole.
10. Line up your scarp piece of cardboard on the back of your canvas poke a hole in that too. It will help stabilize the heavy clock mechanism on your canvas.
11. Assemble your clock movement mechanism according to the directions that come with it. But, if you are like me and your kit doesn't come with directions (!), this is a
good site for directions on how to put together the clock movement.
12. Admire. Good job!