1.30.2012

T-shirt Produce Bags

This tutorial was so well done that I thought even I could do it. Turning t-shirts into other things is awesome, but I am running low on t-shirts. Whoops!


Produce bags are nice for carrying... produce. But you can carry other things in it I suppose.

I'm a Chargers fan, but this shirt was a child's extra-large and it doesn't fit so well.

Materials:
  • Old t-shirt
  • Sewing machine, etc.
  • Cutting mat, scissors, and rolator cutter
  • Pins


1. Turn the shirt inside-out draw a curved line under the collar.


2. And cut.

3. Pin the curved line and sew it up.


4. Using the rolator cutter and mat, cut slits along the whole bag (except for about 4 inches at the top). I made the slits an inch apart and fairly short. (You don't want to lose your oranges!)


5. Cut the sides and a long slit to make a handle.


6. SSSTTTRRRREEEEEETTTTTCCCCCHHHH IT!


7. Turn it right side out.


8. Fill the bag with oranges!


 9. Tote it!


So this was super easy and took no time. You can make them in any size with any shirt. This one was long enough to put over my shoulder, but a smaller one might be more practical for produce shopping.

Now clip those coupons and hit up the Hy-Vee for some produce (mmm... oranges)! 

1.19.2012

Cloth Napkins with Mitered Hem

Hello crafty friends. This is actually the first project I attempted with my new sewing machine. My mom got me a book, Stitch by Stitch: Learning to Sew One Project at a Time, and it is wonderful. The author has a very down-to-earth approach as she takes you through the parts of a sewing machine, the tools, and techniques. It's just great.

So I love using cloth napkins because paper towels and paper napkins are not reusable and they are expensive. Boo.


I've made several of these from some remnants from Jo-Ann's and scraps. The patterns are kinda crazy and don't match much, but you can wipe your mouth and hands on them, so, you're good. Let's get started.

Materials:
  • Sewing machine and accomanying materials and tools
  • Scissors, rolator cutter works too (I love mine)
  • Measuring implement (tape measure, ruler, index finger)
  • Fabric! (I've been using scraps but you do what you gotta do)
  • Iron and Ironing board (I hate ironing but it's necessary)
1. Cut out your squares of fabric. I usually do 12"x12", but I've done 10"x10" (and even a 9"x9" because it was a smaller scrap of fabric). Measure well because your edges need to be straight and square.


2. Iron!


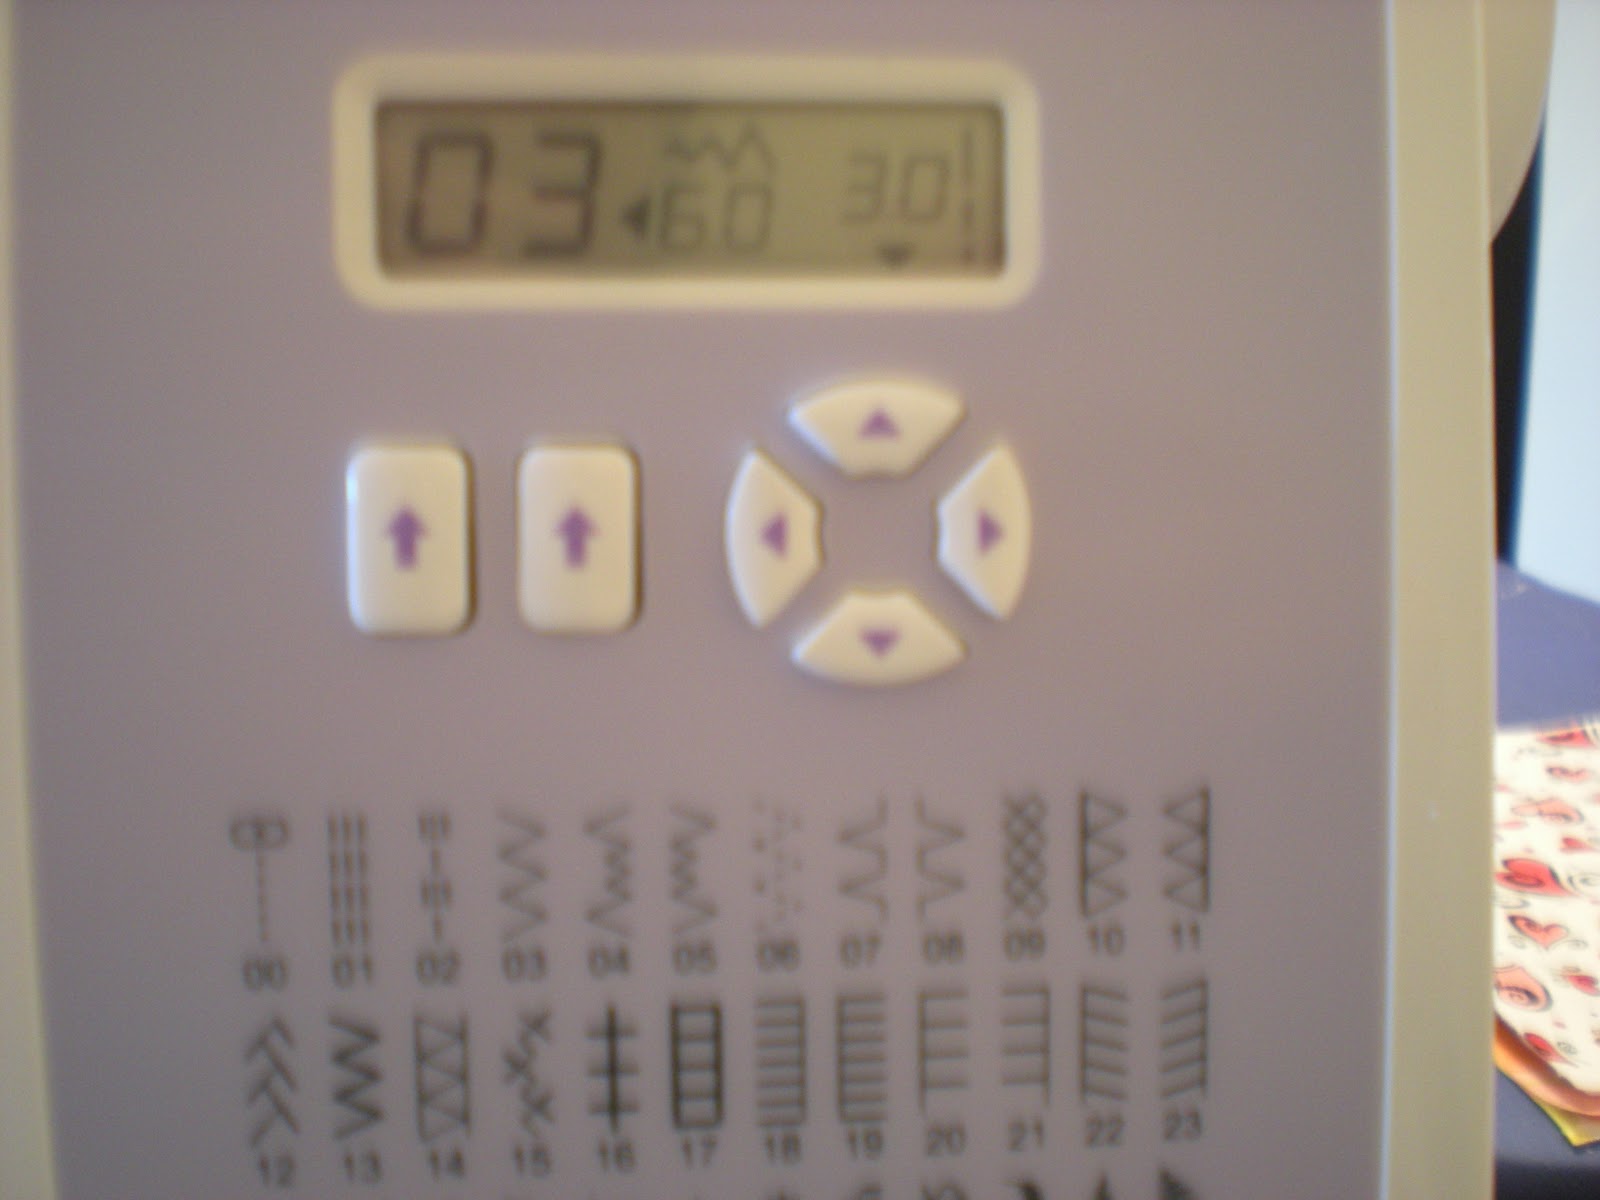
3. Using the zig-zag setting on your sewing machine, set it to the widest, longest stitch you have. Position the edge of your fabric in the middle of the presser foot. The needle will go on the fabric, then off the fabric, then on the fabric, then off the fabric. It kinda acts like a serger, so if you have a serger you can use that. This will keep your edges from fraying. It's quite nice and I might use it for many things.

(I took this picture and then realized my fabric was right side up and it's best to do this wrong side up, so I flipped it and didn't take another picture. Oops.)


4. Press the corner of the square up onto itself. I've done 1", 3/4", and 1/2". Do it on all 4 corners and be consistent.


5. Now fold up the edges so that they meet the top of the point you just created and press!


6. Now, back at your sewing mahine, set your stitch back to just a straight stitch with the standard sizes. This will be topstitching, so if you want you can use one of your more decrorative stitches. I so would but I only have print fabrics and I think it would look weird.

Sew along the line of your "serge" line.


7.  Continue all around the napkin and you're done. (I iron them out again.)


 Now I have something to wipe my face with when I devour some BBQ ribs, which I am so craving right now.

1.16.2012

T-shirt Pants

Pinterest strikes again!! I got this tutorial and waited patiently until I got a sewing machine for Christmas!

I changed it from the tutorial a little.

Yay! Sewing machine!
My workspace is small, but workable.


But back to the pants.

Materials:
  • Sewing machine and related things (thread, bobbins, whatnot)
  • Oversized old t-shit
  • Scissors
  • Rolator mat and cutter (not necessary, but nice)
  • Pins
1. Find a clean overisized t-shirt. This shirt is the BF's. We don't go to the University of Massacusetts but his sister almost did and he ended up with the t-shirt. It got a hole in it and it became mine. Very comfortable. It's an X-L. I wear a size 6 and it seemed to work perfect. They've stretched out after wearing them for a couple hours but still wonderfully comfortable.


2. Cut off the sleeves. (But don't throw them away!)


3. Cut off the collar. (You can pitch this.)


4. Cut the shirt all the way in half. Make sure you measure so they are even.


5. Flip the shirts so the open sides are facing away from each other. The places were the sleeves used to be are together.


6. Turn them inside out. Keep the "sleeve" sides together.


7. Pin and sew up the "sleeve parts". This would be were the pants go together in the middle. The crotch, if you will.


8. Sew up the sides. 


Right side out. Almost look like pants! If you try them on at this point you will realize they don't go up high enough. It's revealing and indecent. Icky.


9. The sleeves come back. Cut them open along the seam and cut them down into rectangles. Salvage enough material as possible so they stretch the whole circumference of the pants.


10. Sew them together into a circle. Ta-da. The waistband.


11. Pin and sew the waistband to the top of the pants.


And Oh-Em-Gee. You have a new pair of pants to lounge in!


My waistband was long-ish so I fold it down.


They are way comfortable and I can see myself spending lots of time lounging around in these bad boys.


And always craft with a friend.